How to group products with the same design together
- Why design groups?
- How do I create a design?
- Starting with a single product
- Starting from Store > Products list
- Description and tags
- Adding a Zazzle collection ID
- Choosing a store
- Changing the unique code
- Uploading a custom design image
- Reordering the products in the list
- Disabling or deleting a design
Why design groups?
If you are familiar with using Zazzle collections specifically to group different products in your store that all have the same design on them, that's what this is about. Learn more about designs here. Let me encourage you not to simply create one SHD collection here for every Zazzle collection there. I recommend that you start by grouping your products by design. Then move on to collections.
I will refer generically to this special kind of collection as both a "design" and "design group" here.
How do I create a design?
Currently there is no bulk importer for designs like there is for products. You are going to have to create designs by hand for now.
There are two ways to create a new design group and add products: One product at a time or from the Store > Products management page.
Starting with a single product
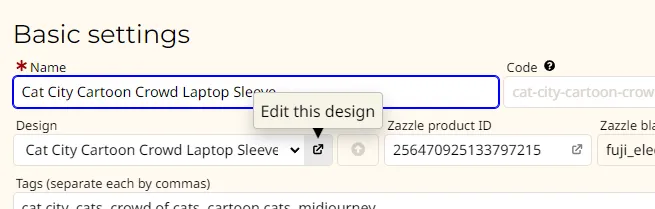
You probably won't do it this way, but this is a simpler process that's easy to explain. Find the product you want to add to a design. Open it for editing on its "Product settings" tab. See the "Design" drop-down list and the little button next to it with an up arrow?
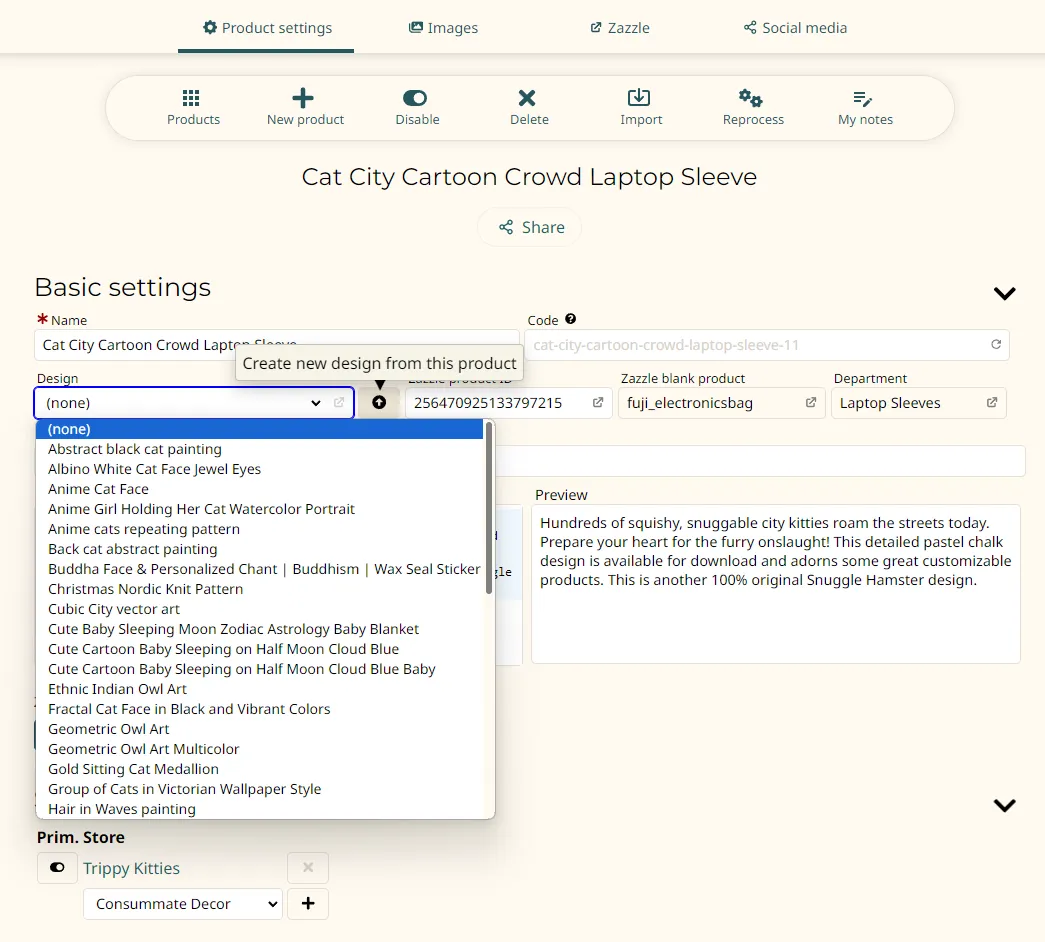
If you have a design already defined then you can simply choose it here and click the "Save" button.
But let's say you don't have a design yet. You want to create one. That's what the button next to it does. Click that and you'll go directly to a the newly created design's editor page.
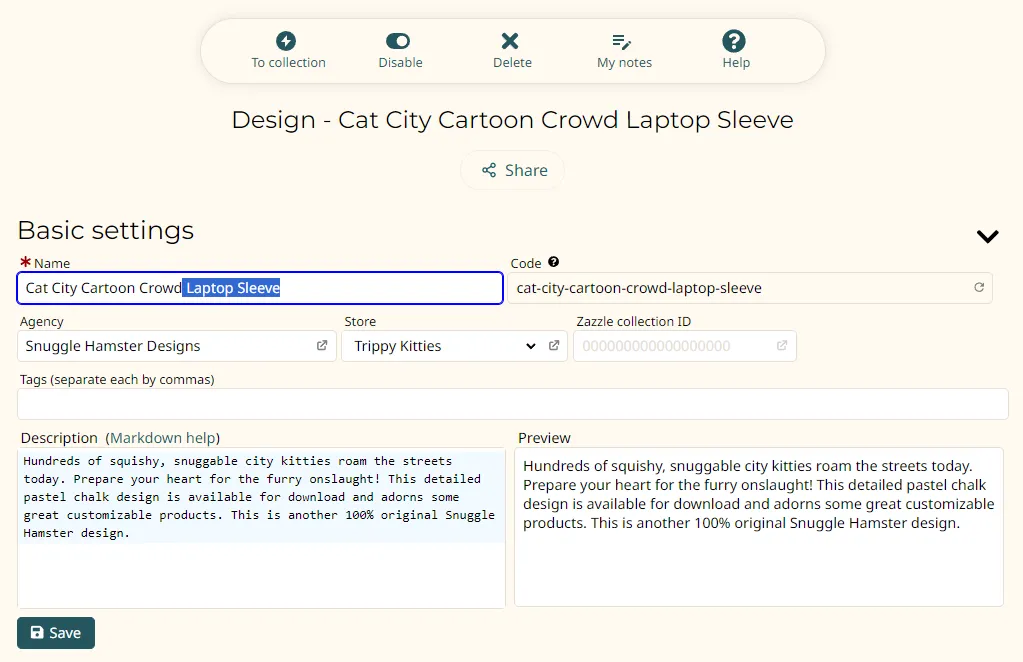
You're going to want to delete the part of the product name that is specific to that product. In this example, trimming "Cat City Cartoon Crowd Laptop-Sleeve" down to "Cat City Cartoon Crowd".
See below for more about managing the rest of this page.
Now that you have your new design you can choose it from the "Design" drop-down list on any product editor page and save the change to add it. Note that you can also get to your design's editor page using the smaller button with the diagonal arrow:
Starting from Store > Products list
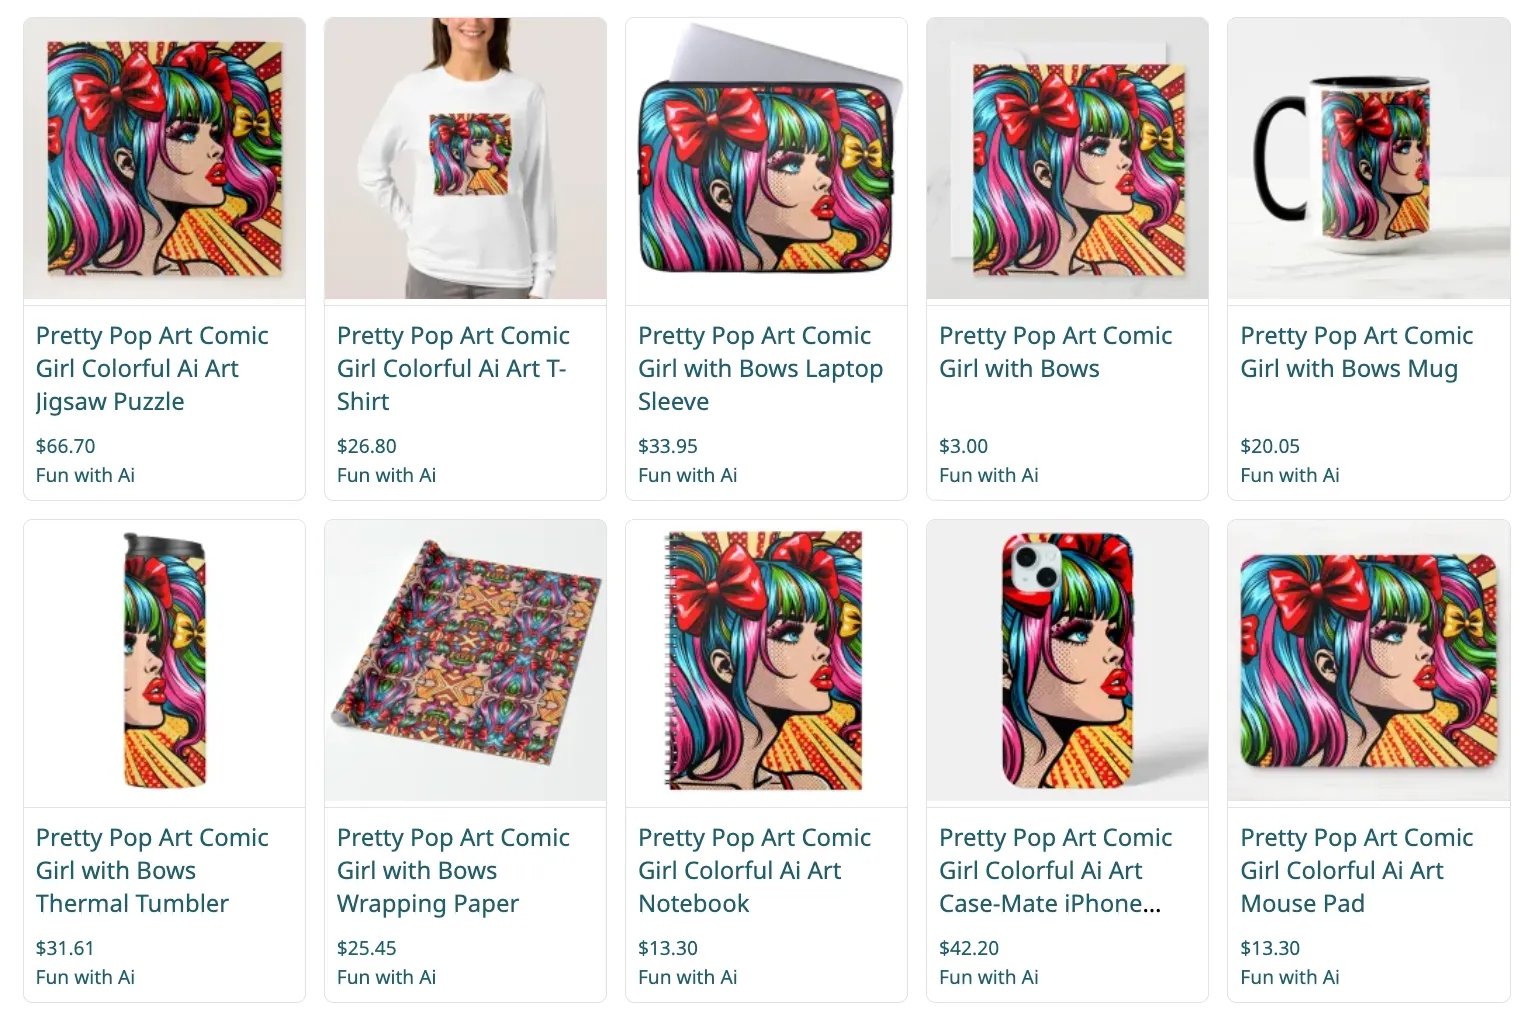
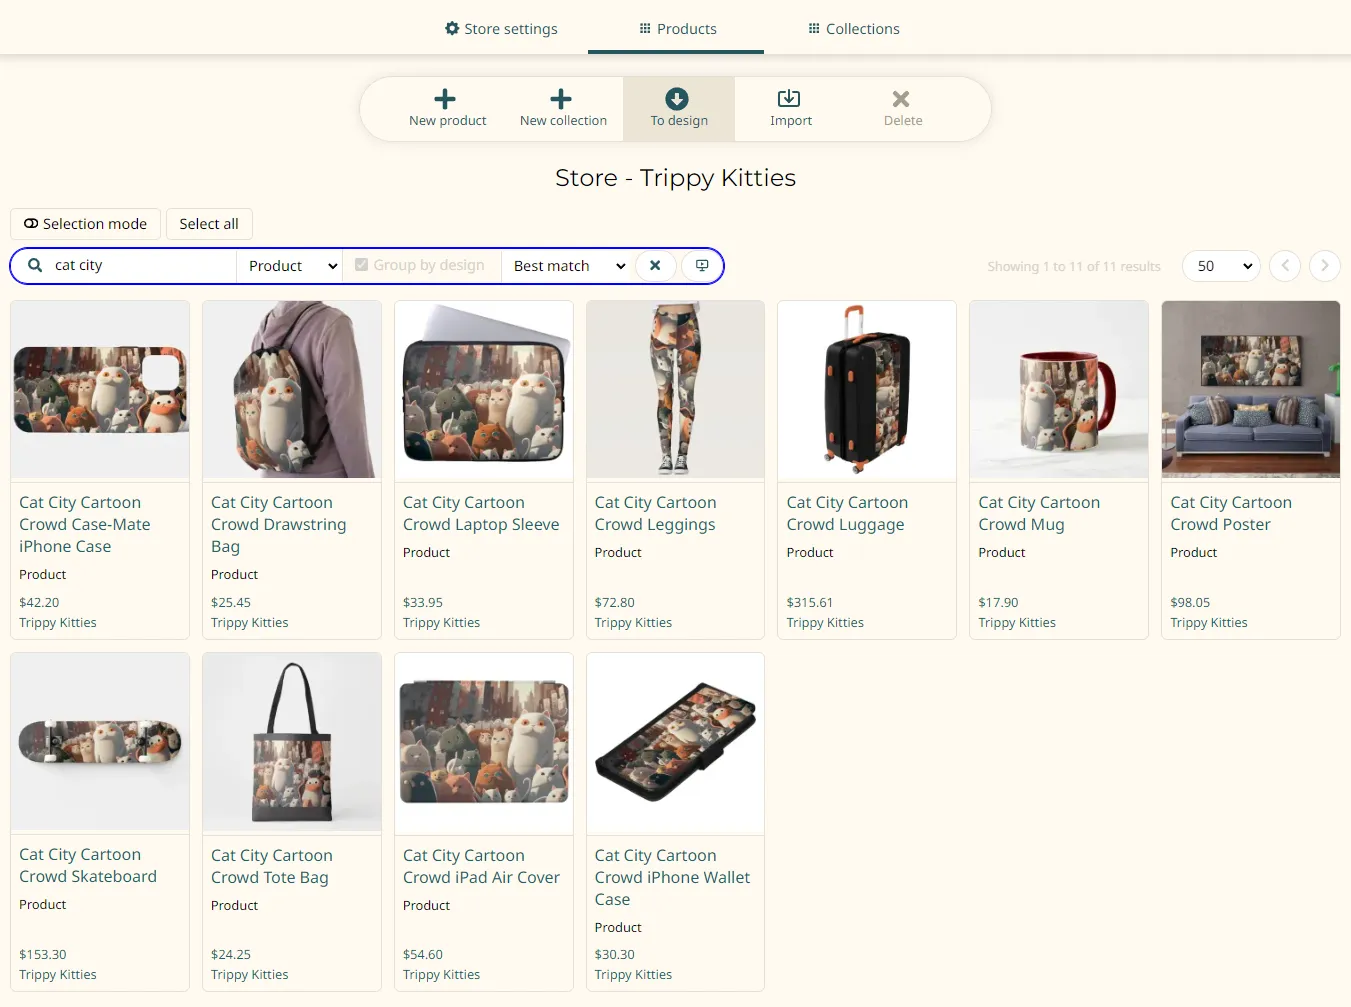
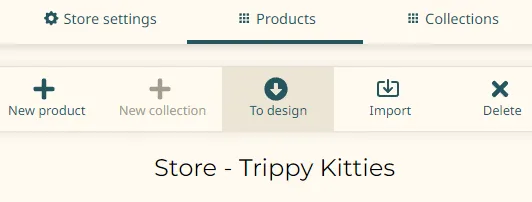
The faster way to create a new design is by going to your store's management page and switching to the "Products" tab. From there you can use the search to find the product you want to group together. In this example I chose to only show products and and filtered by "cat city" because my products all have similar names:
If you see a mix of some things you want and some that you don't then you can further refine your selection using the "Selection mode" toggle switch and clicking on items you want to include:
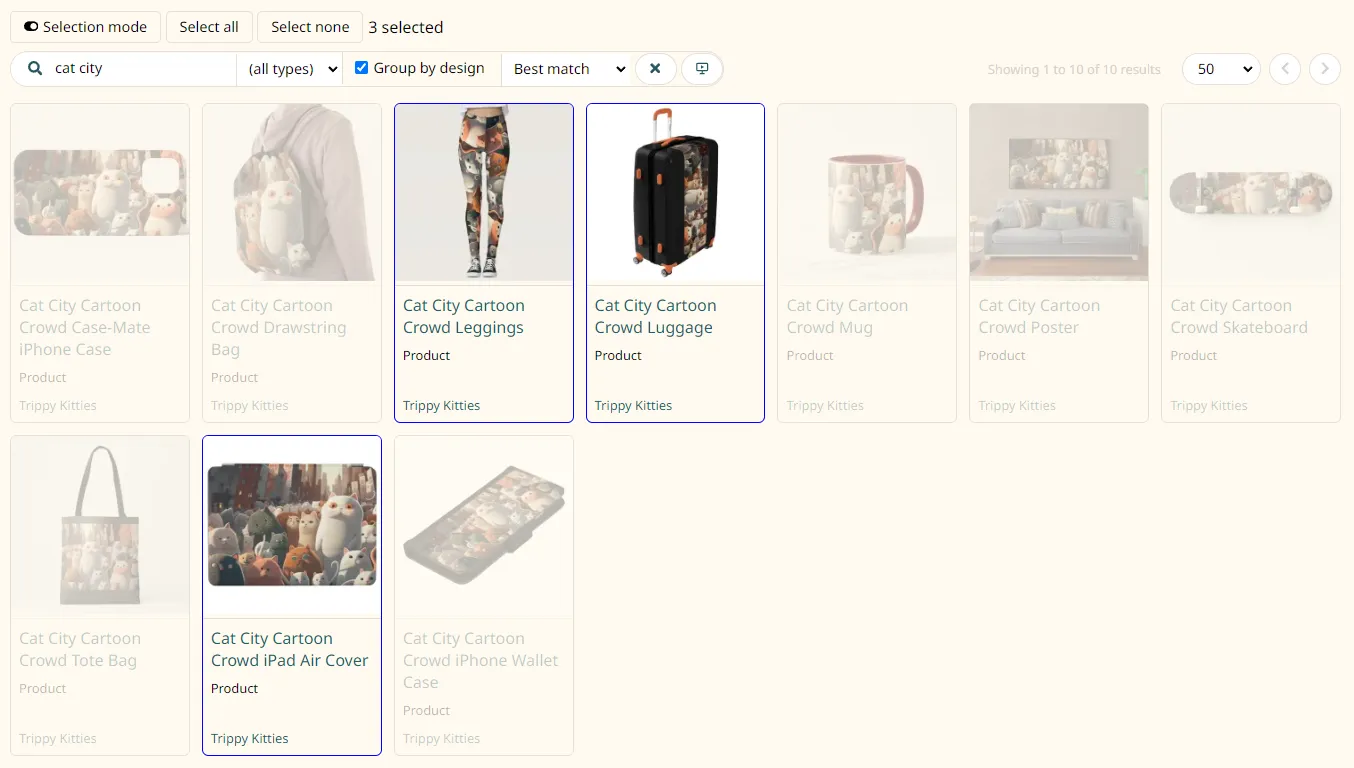
When you have the items you want in the search results or cherry-picked from them, click the "To design" button in the toolbar:
You'll see this dialog:
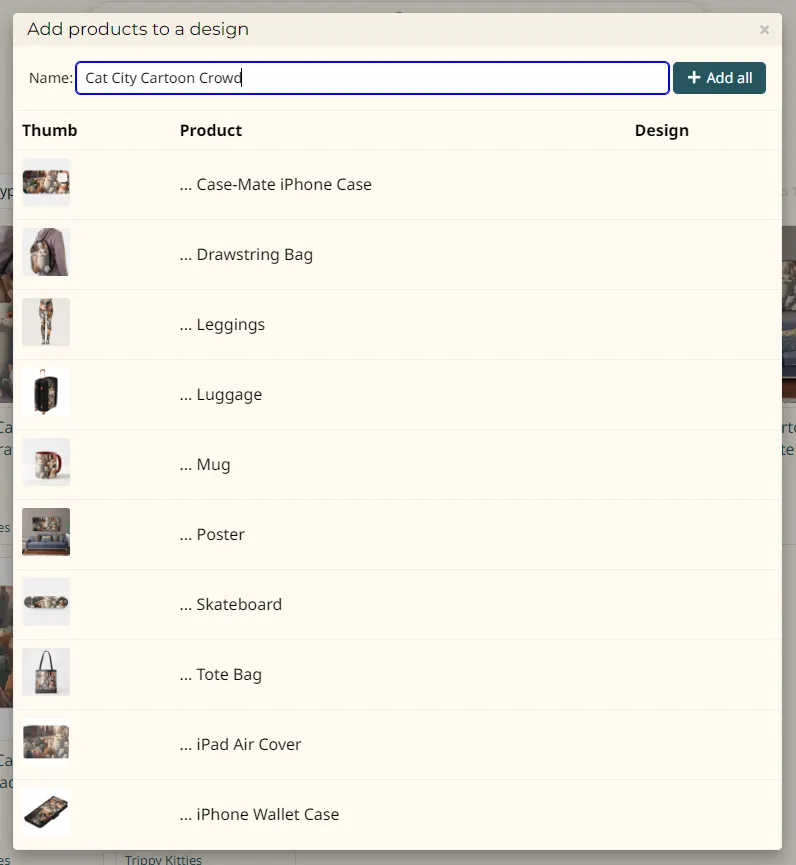
If your products all begin with the same name (eg "Cat City Cartoon Crowd") and end with product names (eg "Drawstring Bag" or "Leggings") then the dialog will notice this pattern and guess what your design group should be named. Down the list you will see the product names trimmed to reflect that similarity. If it could not guess a shared name for the design then you will have to type one in. As you do the product names below will get shorter as above if they begin with the name you enter. This is a good way to check your spellings and make sure you are naming your design appropriately. It will not alter your products' names.
When you click "Add all" it will either create a new design and add all your selected products or it will add them to an existing name with exactly the same name. This is very important to note. You cannot have two designs with the same name in your agency's stores. But it also means you may unintentionally merge two groups of products into one if you try to use the same name twice.
See below for more about managing the rest of this page.
Description and tags
The Basic settings section of the design editor looks a lot like the product editor's Basic settings section. That's not an accident.
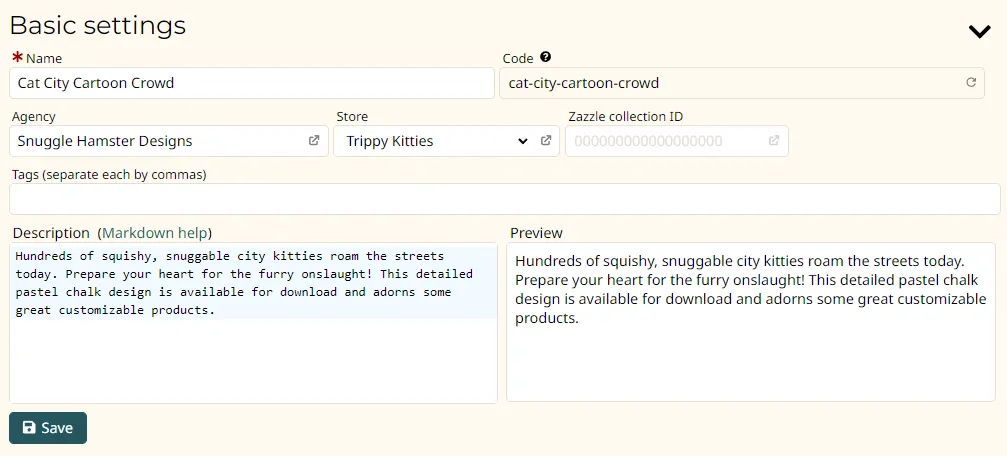
Do you need to edit the tags and description? Strictly speaking, no. But remember that this is a searchable database record. And the public page for this design is indexed by Google. So it matters.
So what do you choose for your description and tags? Depends on how you go about crafting descriptions. I presently create one product — usually a poster — and then create more Zazzle products based on that poster. That saves me a lot of time because Zazzle will carry over my poster's product name, description, tags, and so forth. As a result, I can usually take the description and tags from any product with a shared design because they are all the same.
There remains an active debate over whether your Zazzle products' descriptions should stick only to the design or should also include verbiage about the specific products (eg coffee mugs and tee shirts). Your mileage may vary.
Adding a Zazzle collection ID
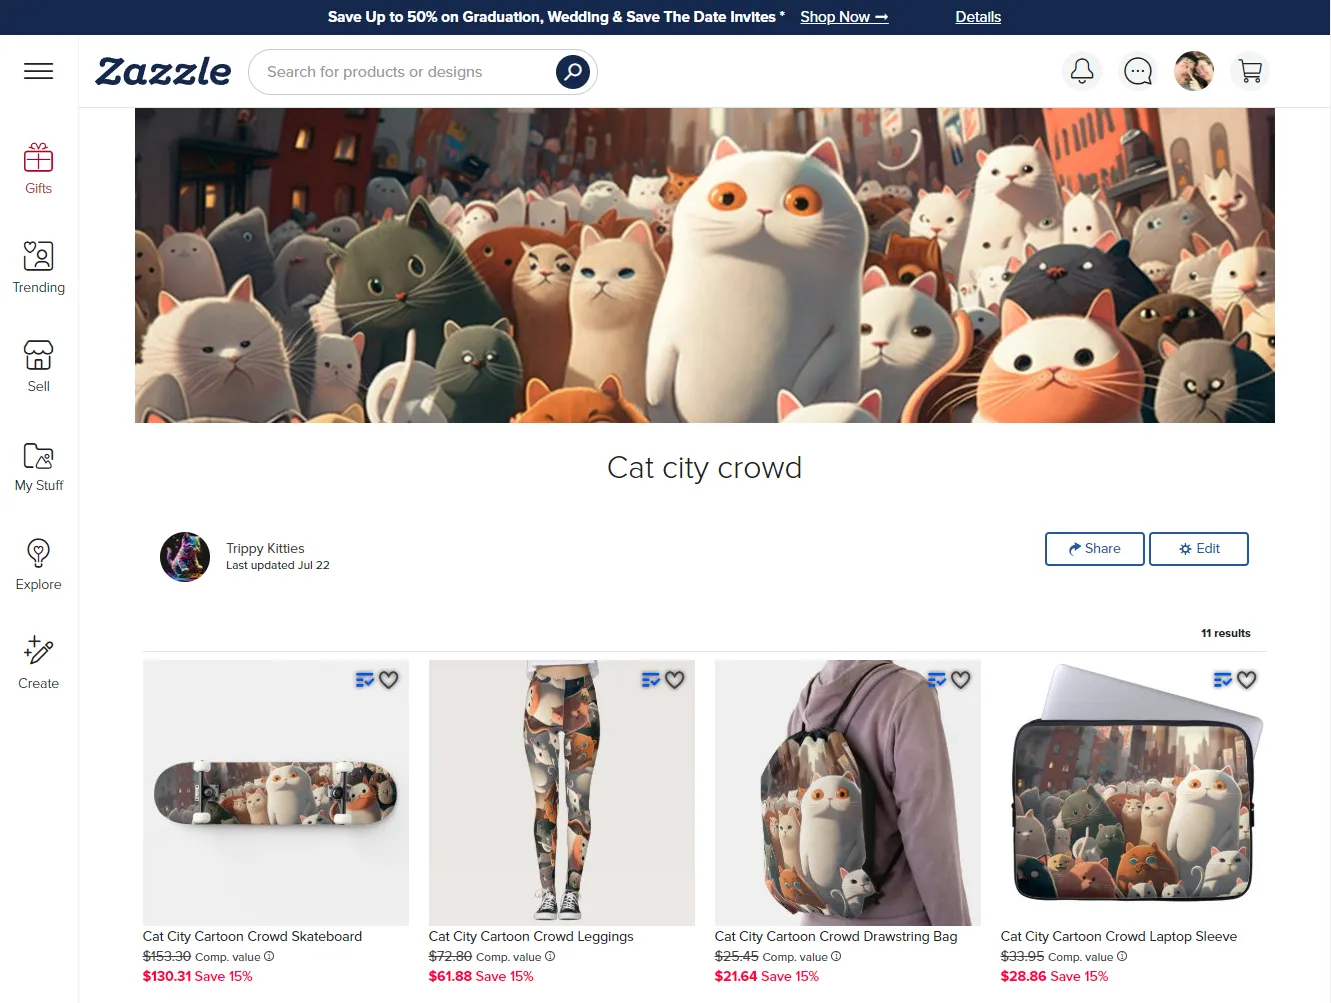
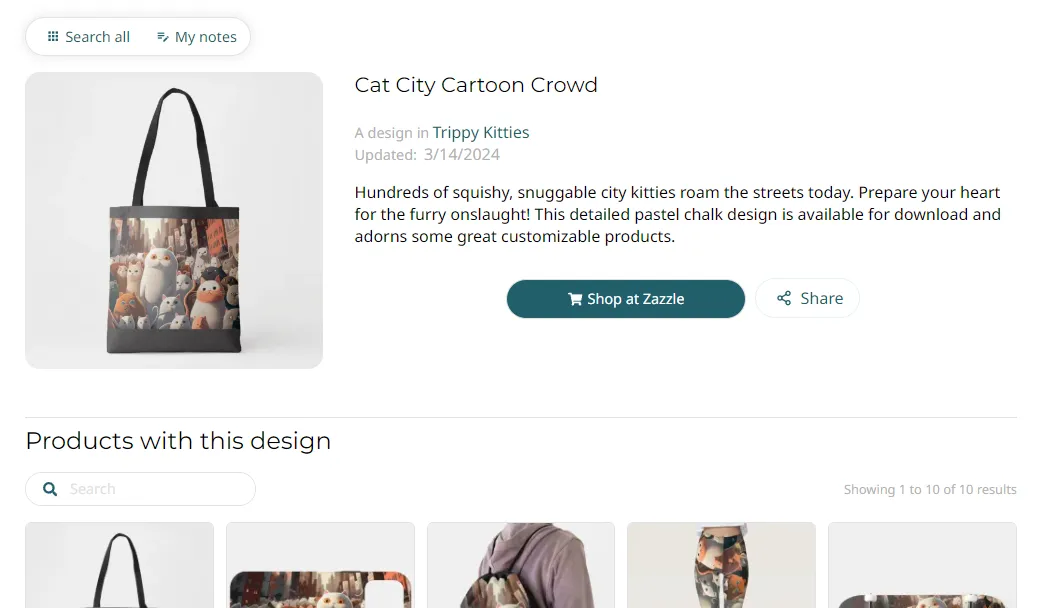
Sorry that it's a little confusing at first dealing with "design" and "collection" terms. It won't take long to get used to. But odds are good your SHD design started life as a collection on Zazzle. You might as well link to it so your customers see both. To do so, go find the collection on Zazzle. The public view page:
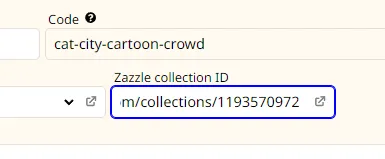
Copy the URL from your browser's address bar. In this example:
https://www.zazzle.com/collections/119357097262590458
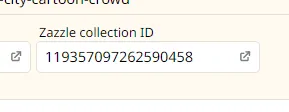
We only need the numeric part at the end there ("119357097262590458"). But you can paste the entire URL into the "Zazzle collection ID" text box:
As soon as you tab or click away, it'll strip away the stuff it doesn't need:
Click "Save". And now your customers will see the "Shop at Zazzle" button:
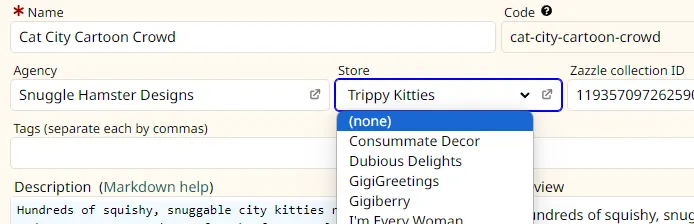
Choosing a store
Most often your designs obviously belong in one store or another because the products that share that design are in the same store. But it is possible to include products from different stores if you use your designs across them. Strictly speaking you do not have to align your design with a store. You can choose "(none)".
But I strongly recommend choosing one. It will be easier to manage and find your inventory. In the future we may phase out the "none" option anyway. It's not clear that this old feature is meaningfully beneficial.
Changing the unique code
Every design has a mnemonic code that is globally unique. This is not something you choose. It's created based on the name of your design. But you can change it by clicking the little circular arrow button next to it:
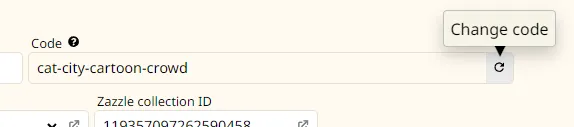
When you click it you'll see a popup explaining what will happen and allow you to change your mind.
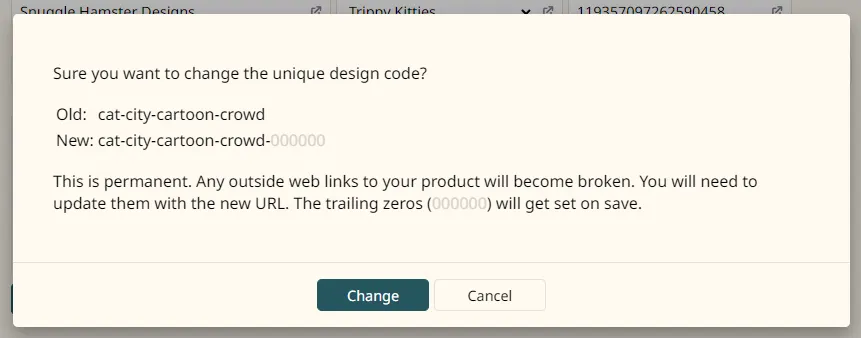
That tees up a future change. You'll need to click "Save" to make it happen though. During save it will come up with a new code.
Why not automatically do this every time you save? Because you may have already shared links to your design on social media and other websites. If we change this then you will break those links. So why allow you to change it at all? Because you may change the name of the design to something significantly different. Or maybe you had a typo in your design's name when you first created it. It's up to you to decide if you want to fix your URLs based on such changes or just keep them the same so your existing links don't break.
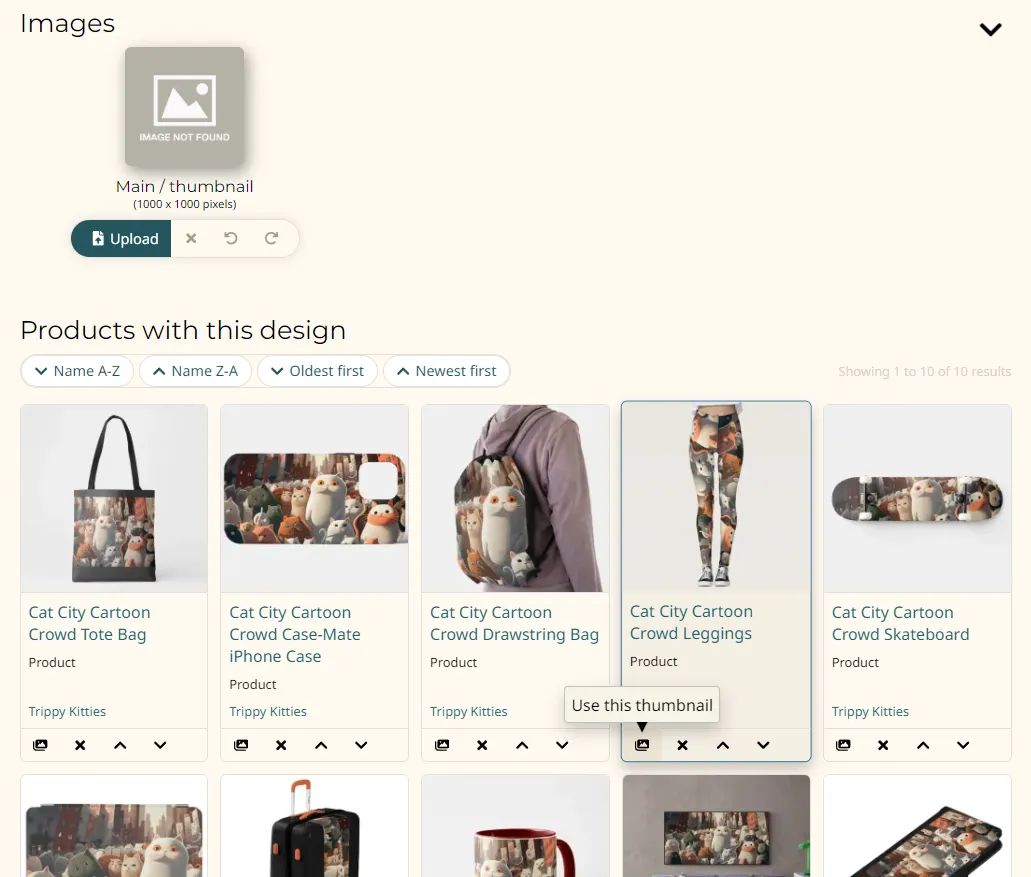
Uploading a custom design image
Your design is visual, after all. It appears on all the products you're grouping. So you should choose a good representative image. The easiest way to do so is via the "Use this thumbnail" button on one of the member products in your design:
Or you can upload a custom image by clicking "Upload":
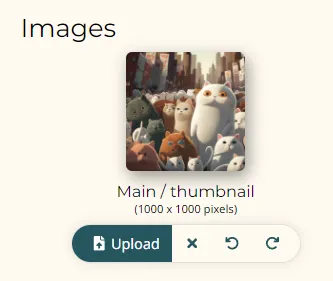
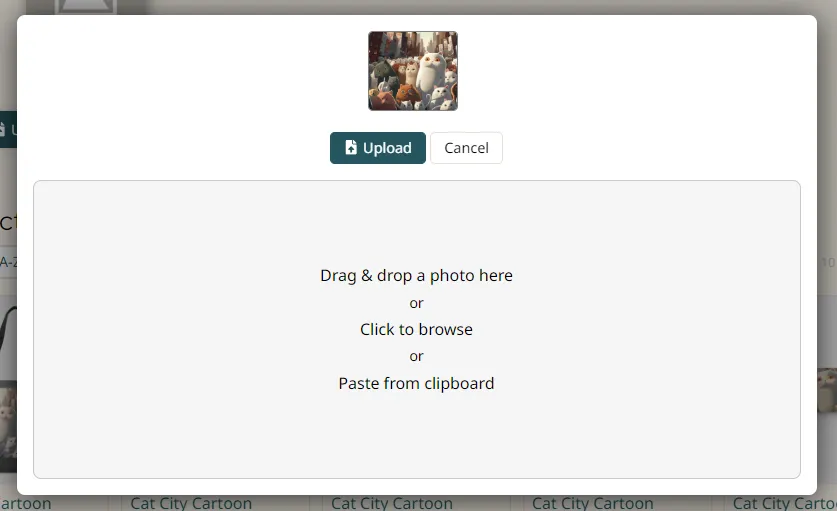
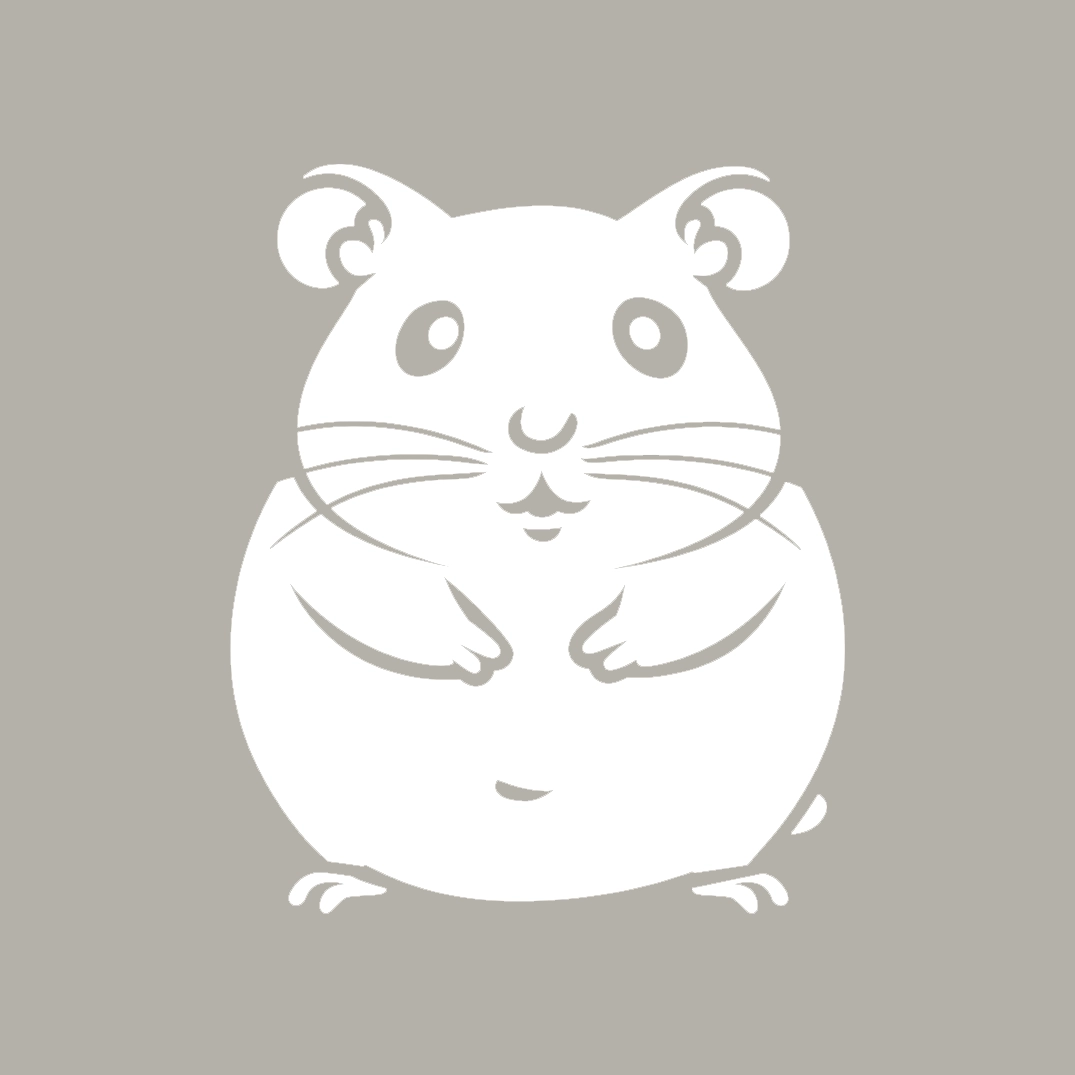
I strongly recommend doing this extra step. Ideally you will choose an image that has the pure design without showing any particular product it is applied to. In this example:

When you upload it it will be trimmed down to a square. So you may want to pre-trim it to roughly a square before pasting the image or selecting the file for upload.
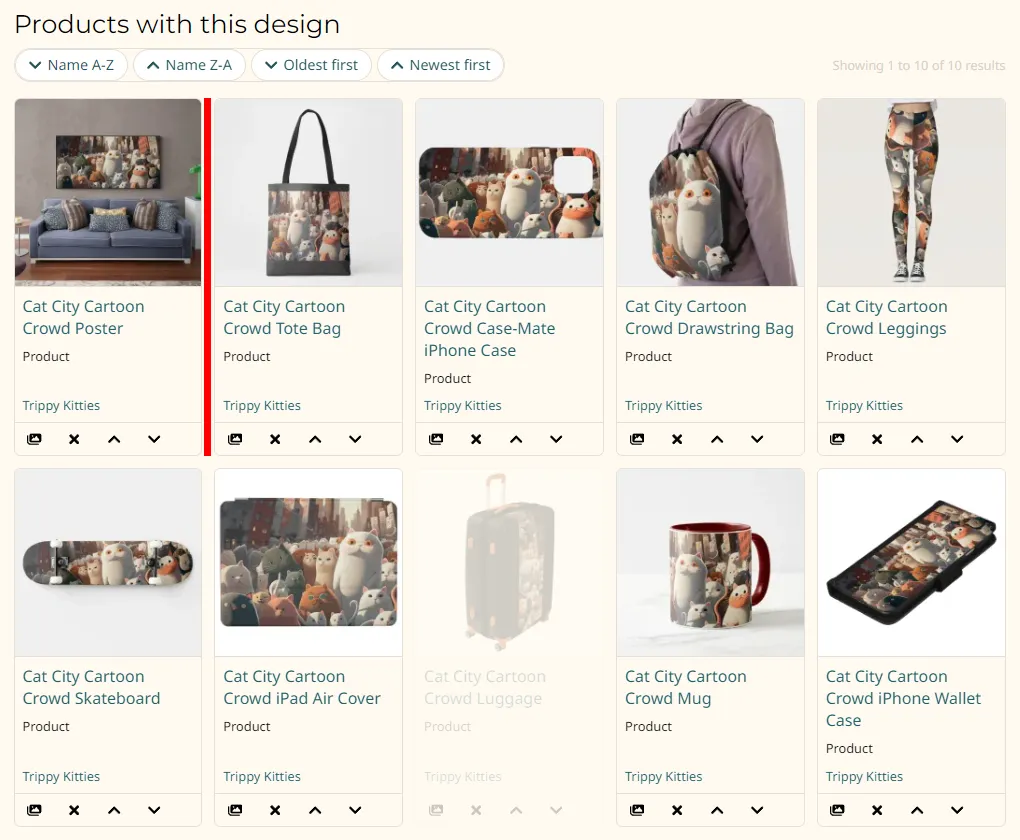
Reordering the products in the list
You may be satisfied with the ordering of your products in the list of design group members. If you are not then you can simply drag and drop them into whatever order you wish:
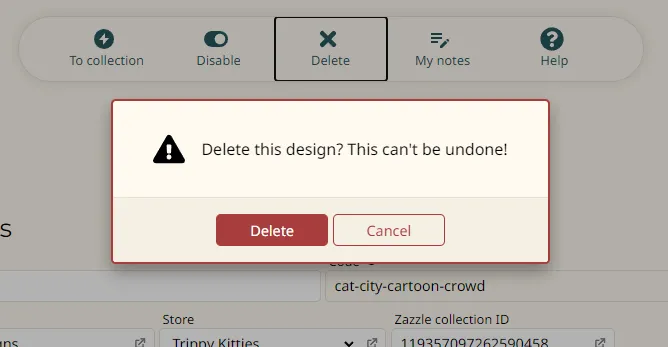
Disabling or deleting a design
You can delete or disable your design via the toolbar. Neither action will disable or delete the member products.