How to create and share social media posts
TL;DR
You can do simple sharing of any page. But you can also create rich social media posts using our image templates.
Contents
- What does this site offer for social media posting?
- Anyone can share a page
- Basic vs Premium agencies
- Creating a social media post
- Sending your post to the target SM site
- Create a pin by hand from your new post
- More than one post per product
- Why save my SM post?
- Register your agency with Pinterest
What does this site offer for social media posting?
Pinterest is the main go-to site for many Zazzlers looking for a place to promote their products. Facebook and other social media (SM) sites afford similar opportunities.
You probably have figured out that just "pinning" a link on Pinterest (or other SM site) to your Zazzle product is not likely to get you much mileage. We offer you image templates and tools to help you craft better SM posts. And the ability to have more control over how people experience and interact with them and ultimately your products.
Anyone can share a page
You and your customers can already do basic SM sharing from your product's public page using the "Share" tool:
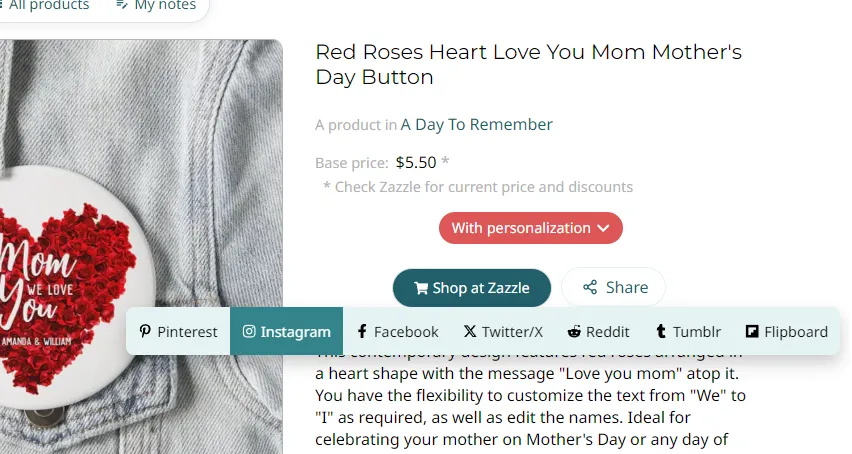
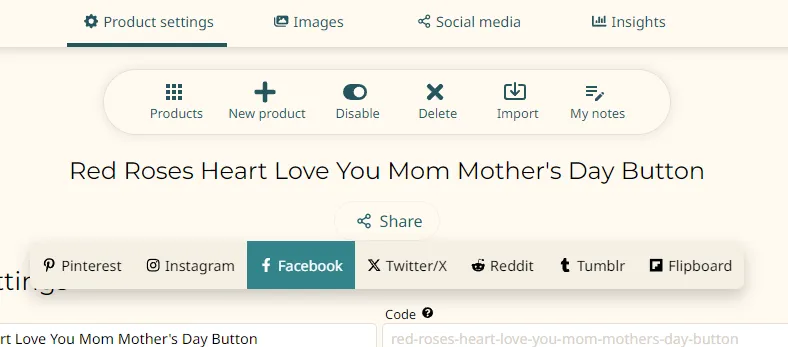
And from your Product > Settings page too:
This works and is like sharing from Zazzle directly. You don't have to create custom SM posts or do any other work to have at least something.
Basic vs Premium agencies
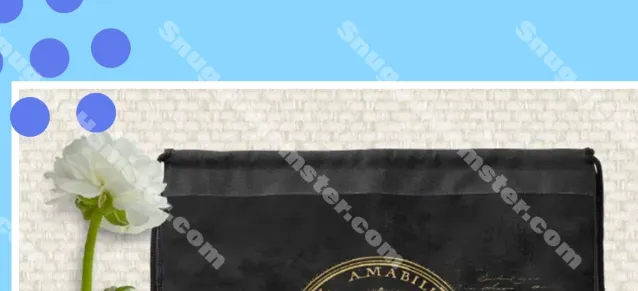
Note that all the following applies if you have a Premium agency. If you have a Basic agency you can create and manage SM posts. But you will not be able to use the rendered images or actually post on SM sites. Rendered images will have watermarks like this:
But you will have to opportunity to test the system and build a set of SM posts before you are ready to upgrade to Premium. Then you can go back and post them.
Creating a social media post
If you want a more customized SM post beyond the one available by default then start by getting to one product's (or design's or collection's) "Product settings" page and switching to the "Social media" tab:
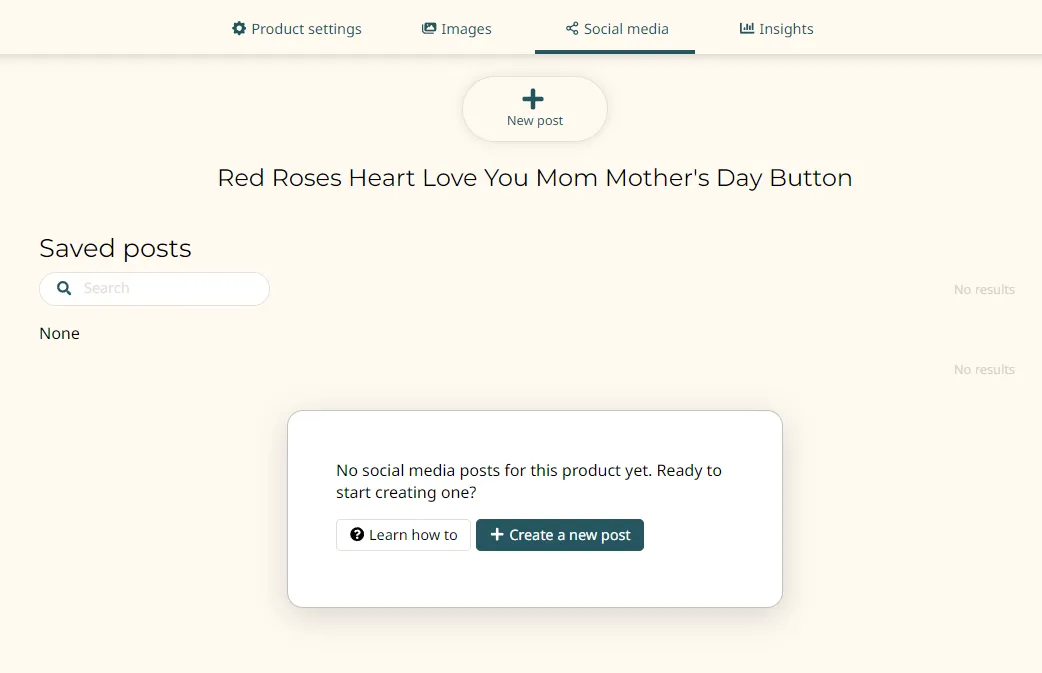
There's a friendly tip with convenience buttons to encourage you along. But generally you're going to use the "New post" button in the toolbar to create new SM posts. Your product can have as many as you choose.
When creating your post you first need to decide what the target social media site is. For this demo we'll create a Pinterest pin:
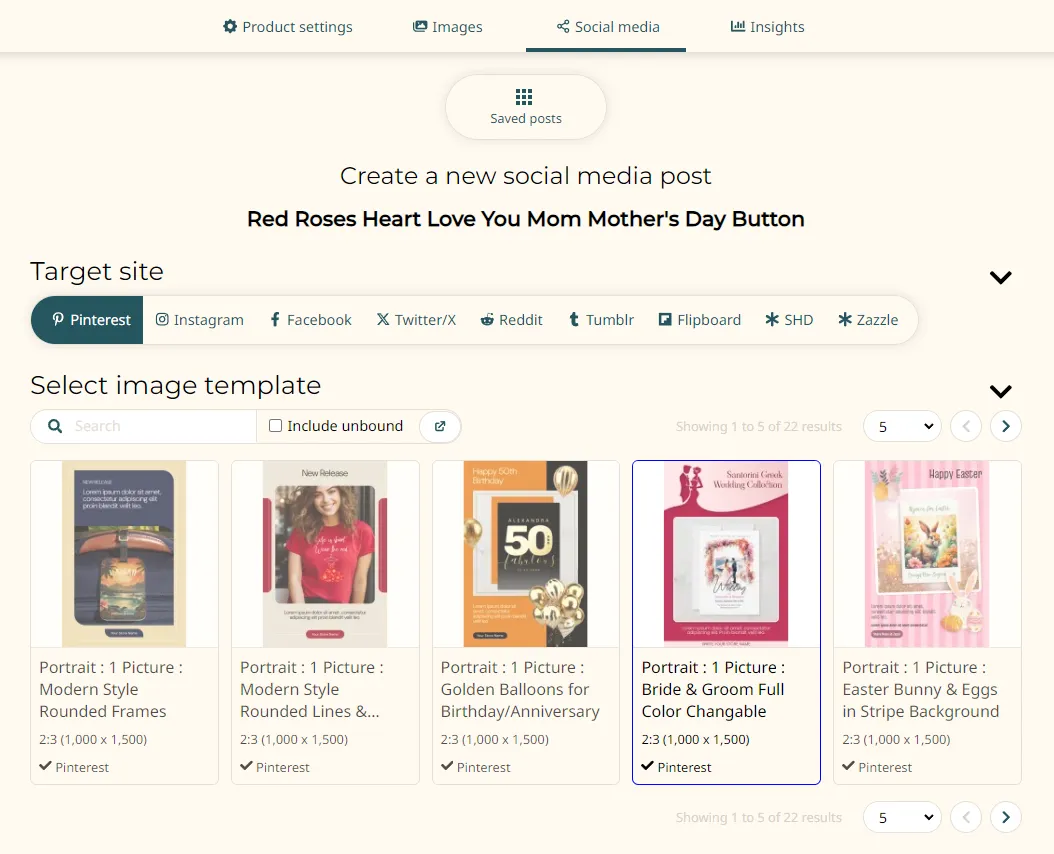
Then you need to choose an image template. We already have quite a few to choose from. Some are simple multi-image with text layouts. Others feature rich framing images that you can adjust the colors of and lots of teaser text you can edit. Here we'll choose the 4th one in the list.
This one has a slot for one image. So your next step is to choose one from the ones available for this product:
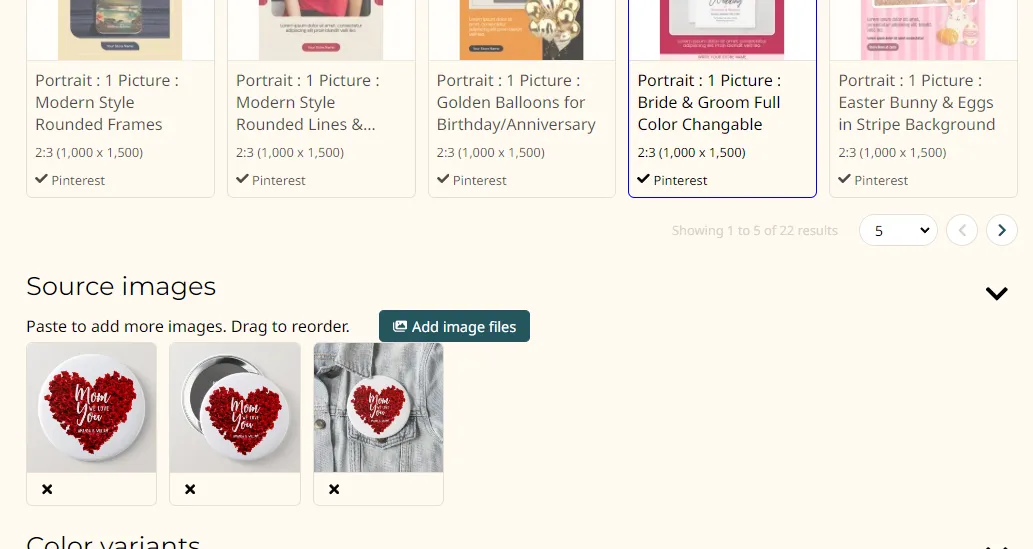
To do so you just sort the source images by dragging and dropping them into the order you want. First image in the sort order goes into the first image slot. Second into the second. And so on. Any beyond what the template consumes gets ignored.
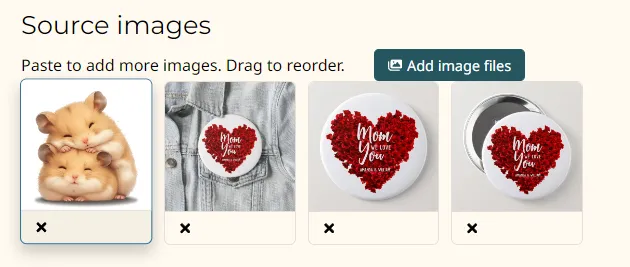
You can even add more images from the clipboard or upload them from your computer:
Once you've chosen which image to use with this one-image template you can move on to choosing a basic color variant and editing the parameters:
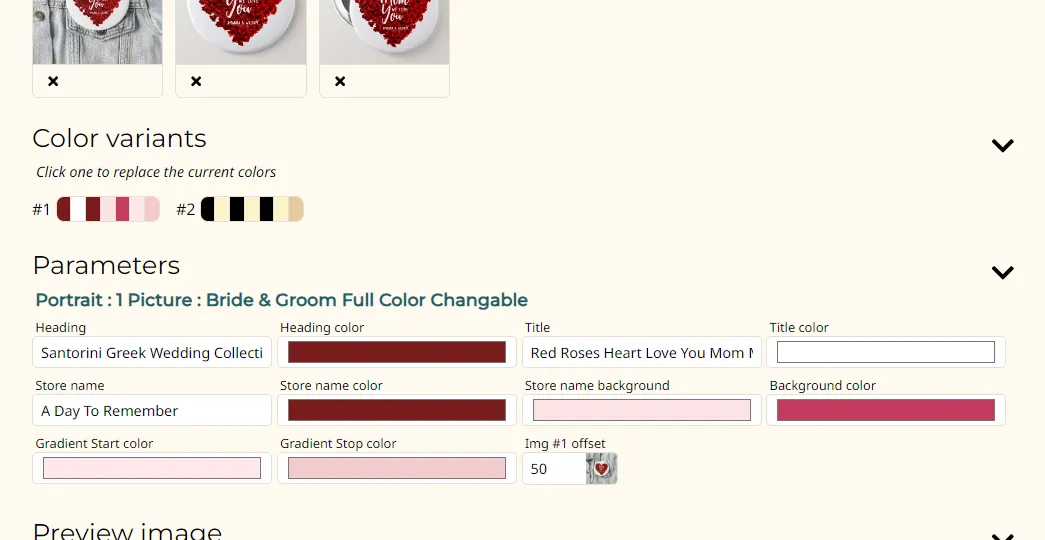
In this case the template designer has offered two color variants to help you get started. Here's what the rendered images look like when you choose each:
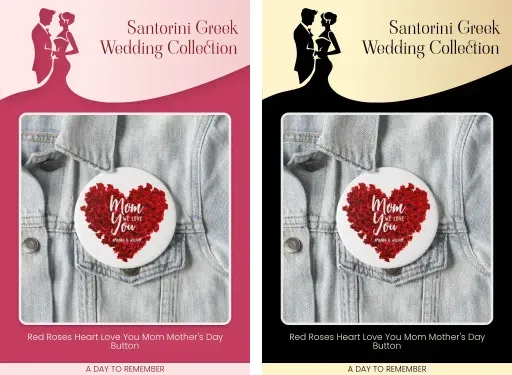
But you are free to choose other colors by editing the parameters one by one. Along with the text and other parameters too.
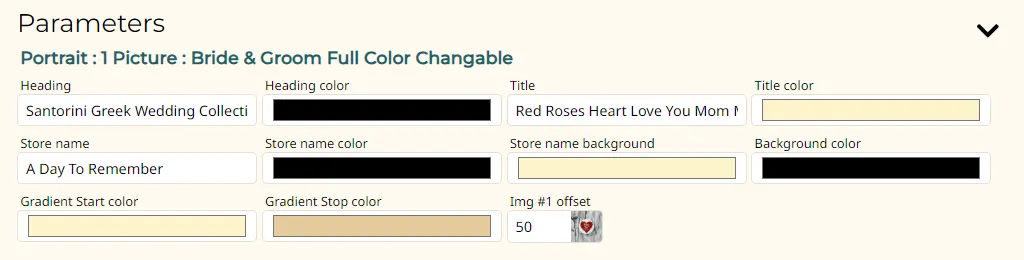
For each source image the template uses you have an optional offset value:
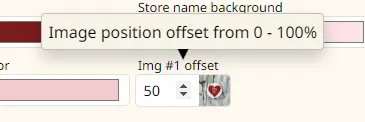
Most of our templates expect square images. And Zazzle deals almost exclusively in square images. This offset will do nothing in that case. But if there is a mismatch in the aspect ratio, your image will be clipped to fit the image space. This offset can help you "slide" the image within that space to make the most of the cropping.
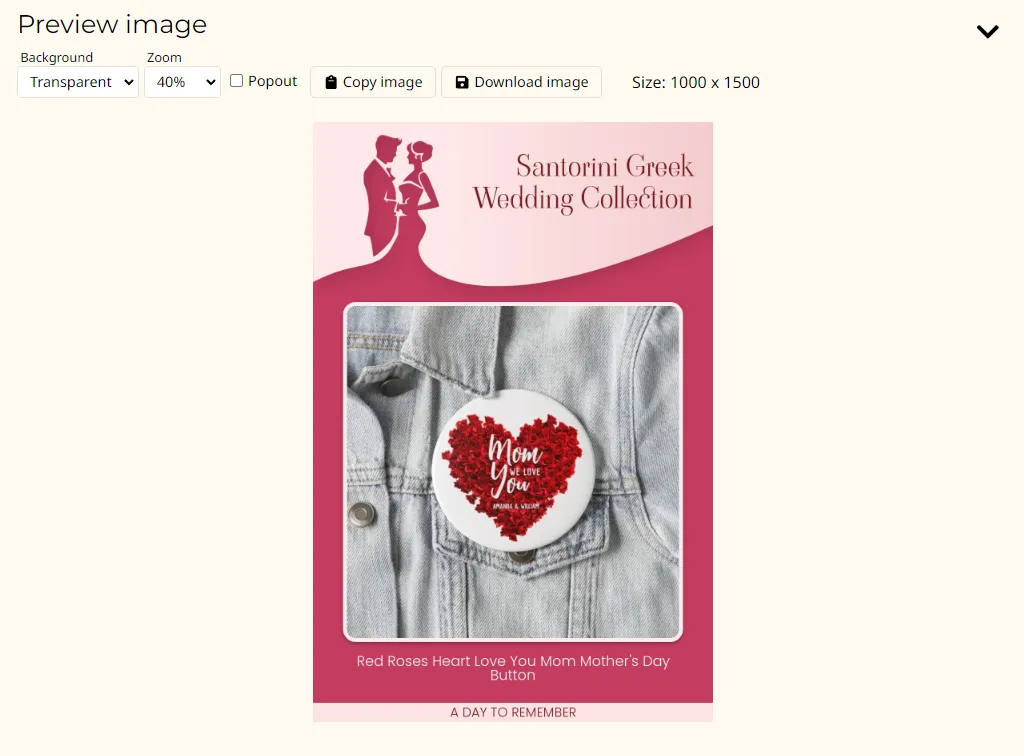
Below all of this is a preview of your rendered image:
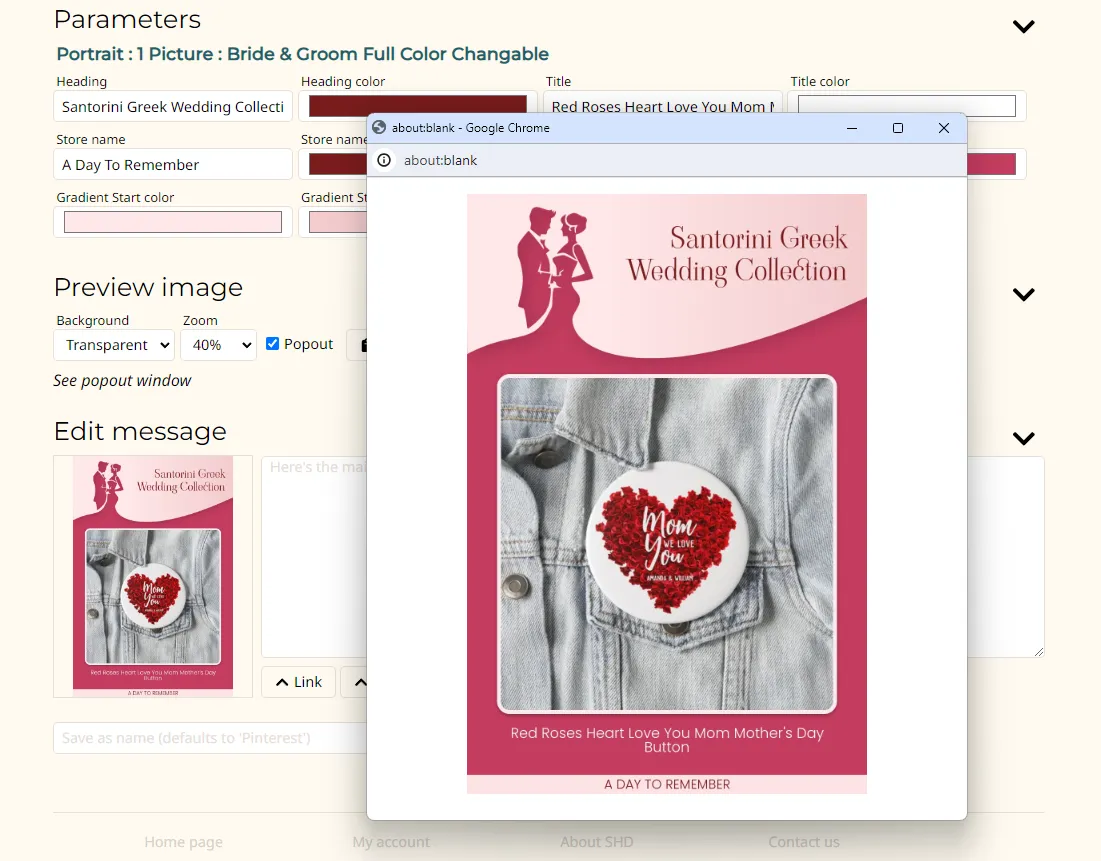
If you have a sizable laptop or desktop machine to work with, you might benefit from clicking the "Popout" checkbox to see it in a separate browser window you can move to a second screen:
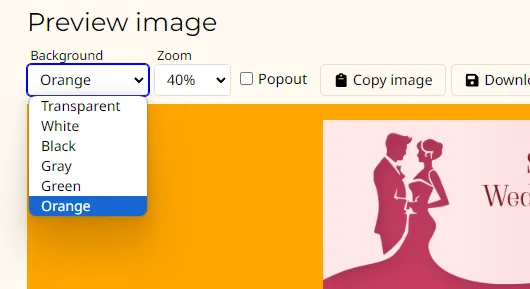
If your template is designed to produce a partially transparent image you can use an alternate color background to experiment with how the transparency looks:
The rendered "preview" is actually the final image. You can copy or download it directly like with other web images:
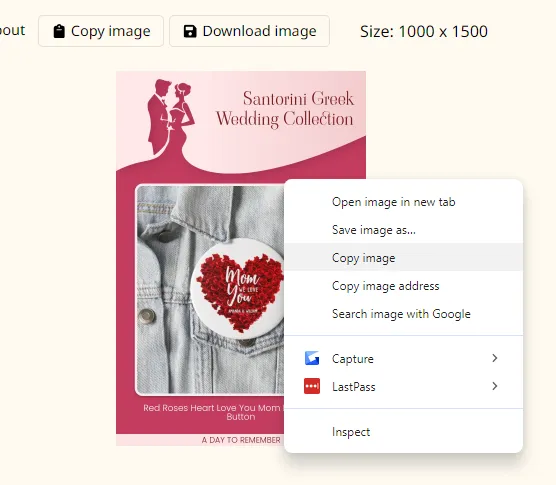
There are convenience buttons to copy to the clipboard or download the file to your machine.
You may find it useful to collapse sections as you finish with them. It's nice that you can get back to them. But nicer to just get them out of your way:
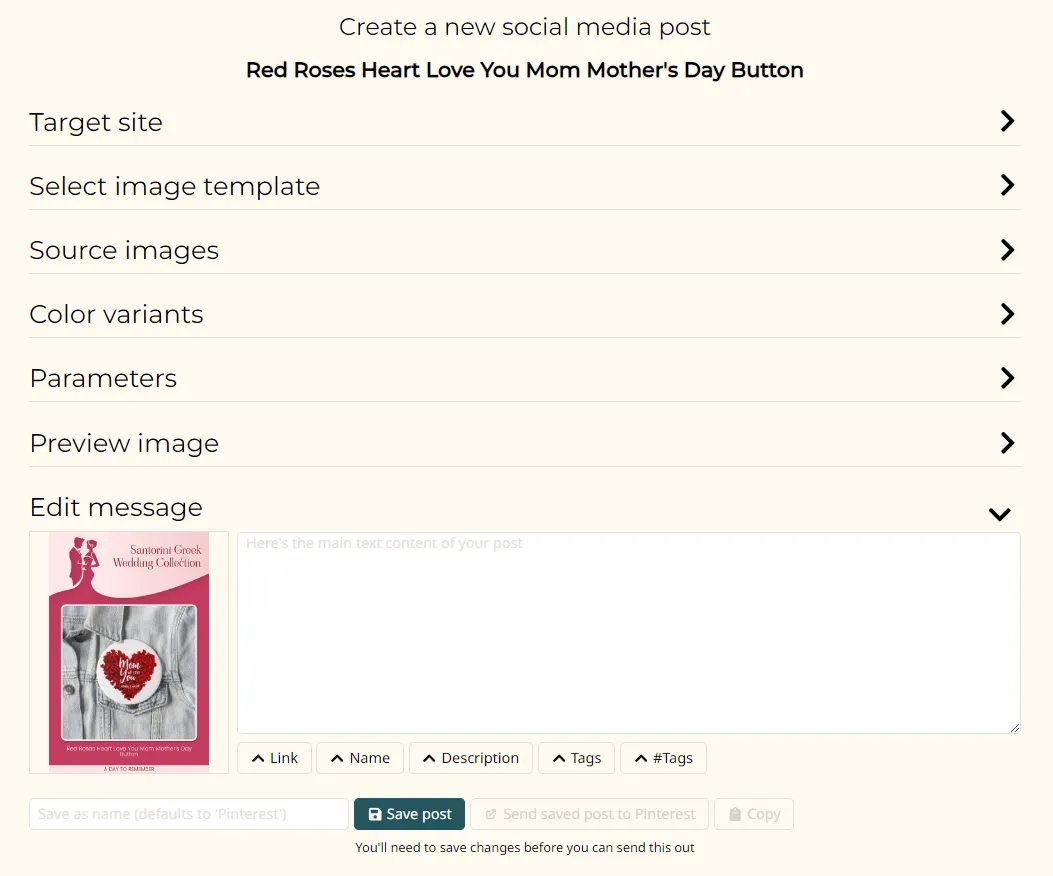
At this point you could just use the image you generated for whatever purposes. Or you can continue forward by drafting some descriptive text to add to you SM post. There are convenience buttons for inserting content from your product's own texts. For example:
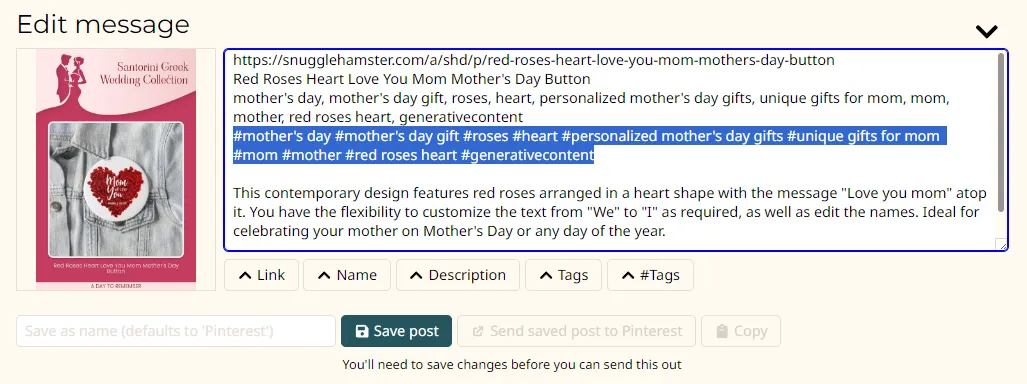
You're almost done. Time to save your post on our site. You can give it a name if you want. If you don't then the name of the SM site ("Pinterest" in this example) will be used instead.
Sending your post to the target SM site
It was necessary to save your post on our site before you could send a copy to Pinterest or some other SM site. See below for why this matters. But now you're ready to move on. Click "Send saved post to Pinterest":

This opens a new tab at Pinterest. It's up to you to decide where you want to post it:
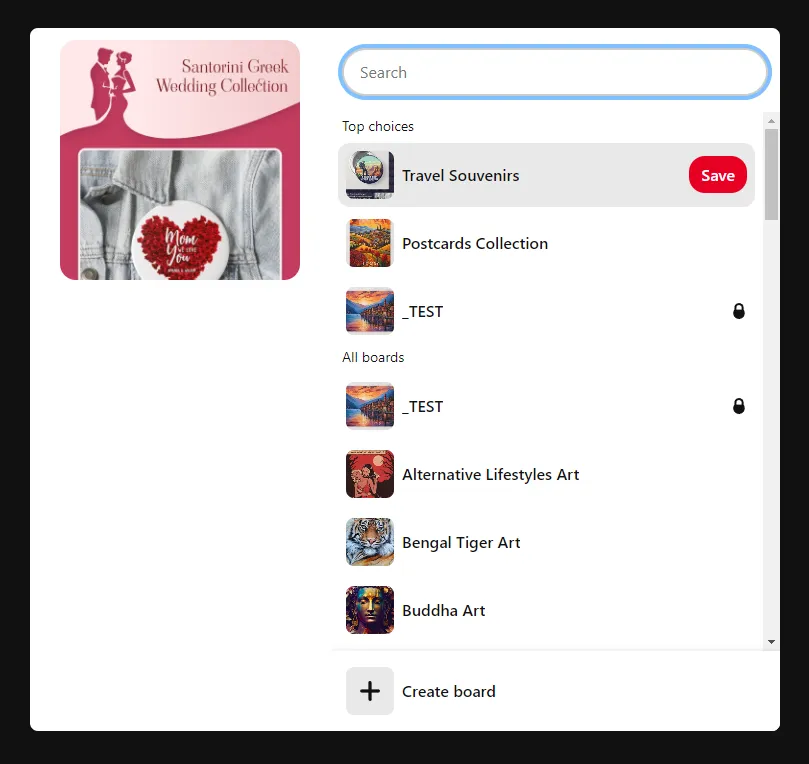
Pinterest in particular will then give you a confirmation screen:
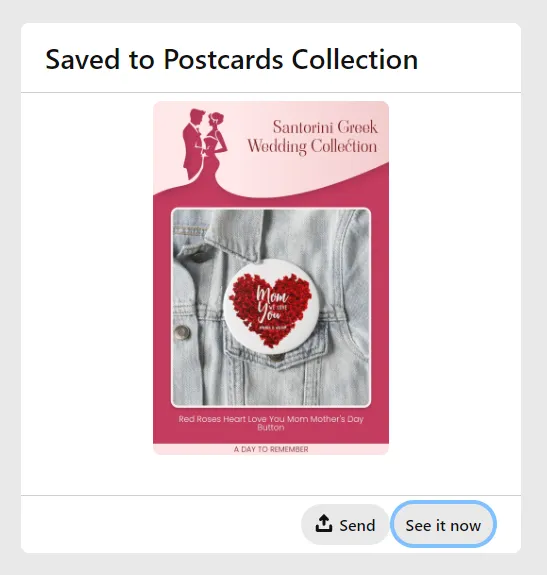
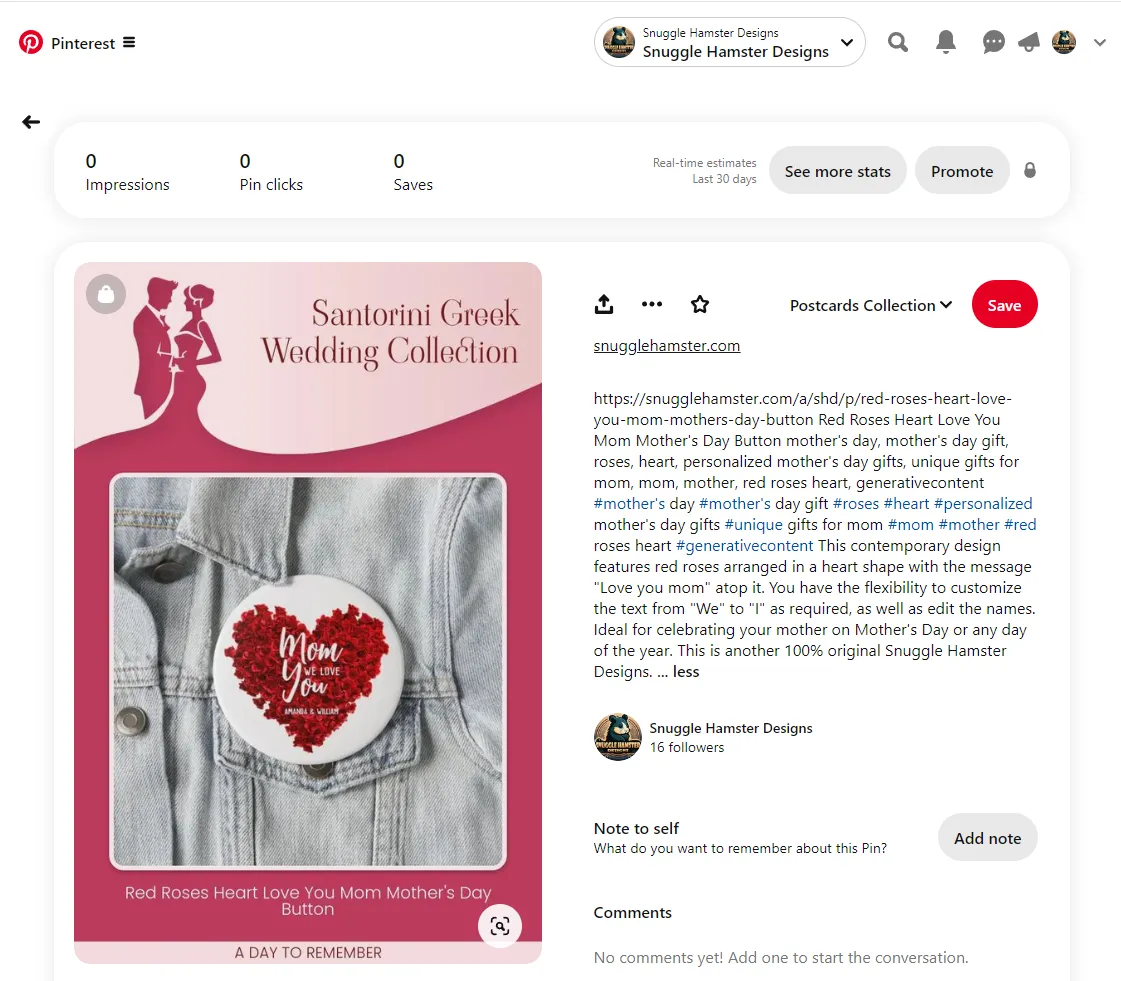
And then you can go see and edit it:
Create a pin by hand from your new post
The "Send" button is a useful convenience. But it's not always ideal or even useful. Instagram, for example, requires you to create your post by hand. In that case you have to save the rendered image and upload it on Instagram by hand.
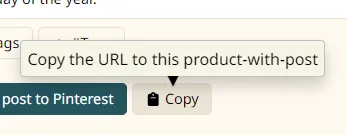
In the case of Pinterest you can get some additional benefits by hand-crafting your own pin. Take advantage of the "Copy" button to grab the link not only to your product, but also to this post you've created and saved:
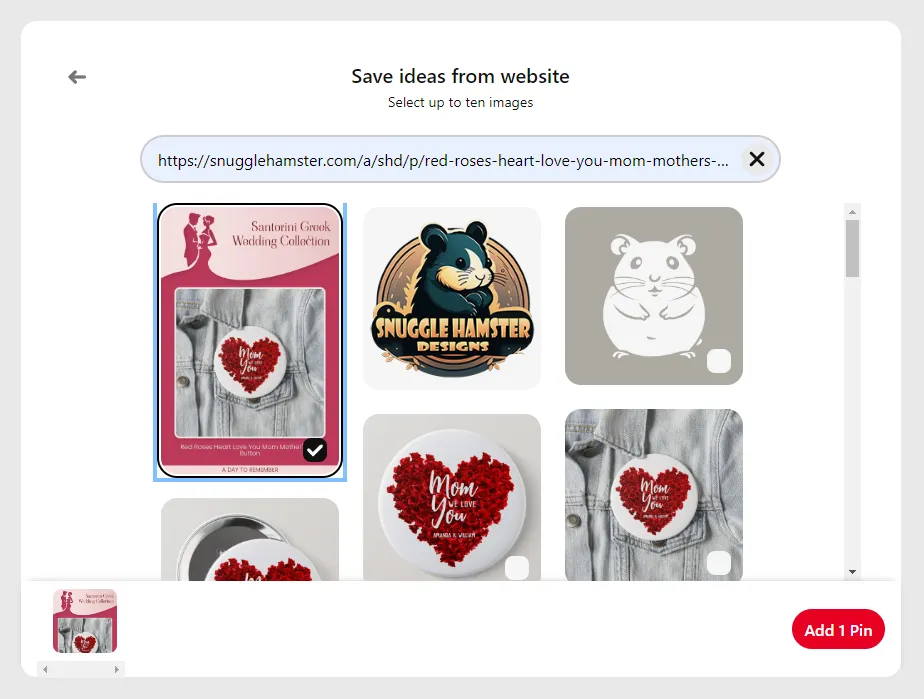
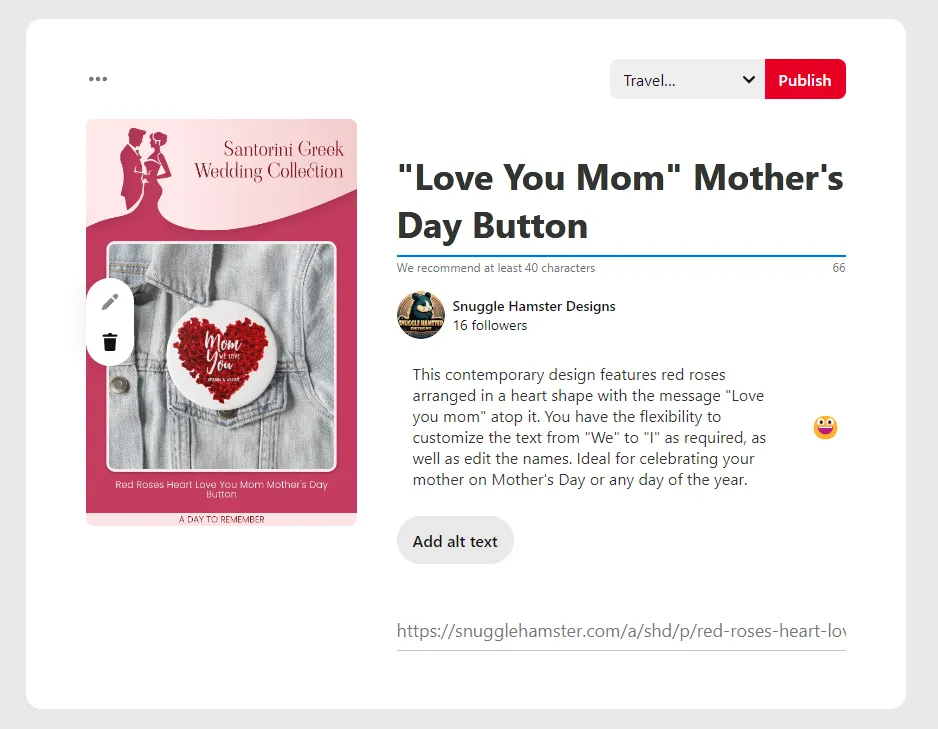
Then go visit Pinterest and start creating your "organic pin" starting with the URL you copied:
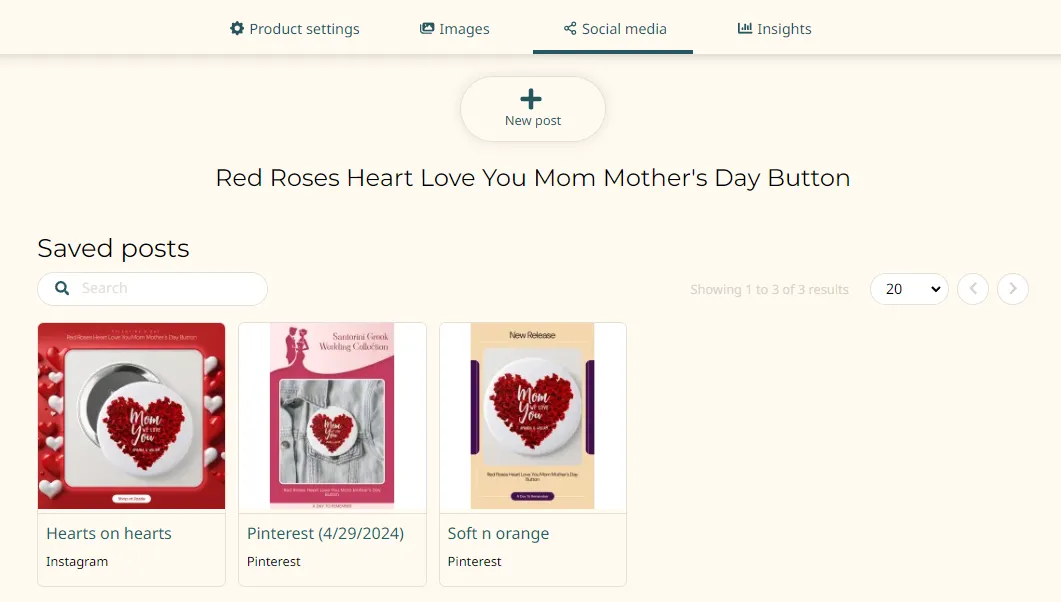
More than one post per product
You can create as many SM posts as you like for any given product, design, or collection. Even for the same SM site:
Why save my SM post?
You can use this tool just to generate images using the template engine and download them. But there are distinct benefits to saving your posts. One is that you can come back later and modify the settings you used to render the image without having to start from scratch.
If you save your post then you have a distinct URL to point to that represents your product, of course. But it also represents your SM post. To the casual visitor it just looks like your product page. But to Pinterest and other SM sites the content is slightly different. Hidden metadata on the page reinforce the post text and point the SM site to the image you rendered instead of the default product image.
Beyond these reasons, we can track linkovers better. When the URL that the SM site has contains the SM post ID we can associate any clicks to this site with the proper post. So you can know better which of your posts someone responded to.
Register your agency with Pinterest
Pinterest gives greater priority to pins you create to your own website than to other sites ("created" versus "saved"). To facilitate that we recommend you register your agency and all of its pages on Pinterest.